How to install a Geotab GO vehicle tracking device
Quick and easy instructions for installing the Geotab GO vehicle tracking device.

By Cary Carter
January 25, 2023
•1 minute read

Geotab’s GO series vehicle tracking devices are designed to make the installation process easier. Device installation is often straightforward. This article will explain the four basic steps of the installation. Watch our YouTube install video below to see an installation in action.
Note: For important safety information and limitations of use, please read the complete instructions, which can be found on the Geotab Installation Documentation page.
Interested in becoming a Certified Geotab Installer? Contact: installcert@geotab.com.
See also:
Planning is the key to telematics installation: Spotlight on Greg Foley
Introducing the Geotab GO9+: Take Wi-Fi with you wherever you go
How to install a Geotab GO device (video transcription)
Installation directly in the OBD II port.
- Locate the diagnostic port usually found under the dashboard on the driver’s side. Insert the zip tie around the port to later secure the device.
- Connect the GO device to the port. Push to ensure the connection is tight. You will hear six beeps and all three lights on the device will flash briefly.
- Secure the device in place with a zip tie.
- With the vehicle parked outdoors to locate satellites and vent exhaust fumes], turn on the ignition. The device will beep as each one of the LEDs lights up. Green indicates cell connection, red indicates ignition detection, and blue indicates GPS latch. Wait for all three LEDs to come on. The installation is complete.
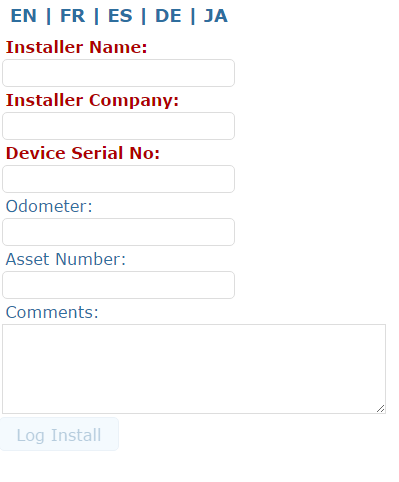
To ensure the device is communicating, go to install.geotab.com and enter the device serial number.

The Geotab GO vehicle tracking device and fleet management platform deliver high quality vehicle data capture with powerful expansion capabilities, such as in-vehicle driver coaching, and collision detection and notification.
Learn more about the Geotab GO9 at geotab.com.
Related:
How to Install Geotab’s Universal 9-Pin Heavy-Duty T-Harness
How to Install Geotab’s 16-Pin T-Harness Fleet Management Device
Subscribe to get industry tips and insights

Carrie Carter is a Strategic Account Manager for Geotab.
Table of Contents
Subscribe to get industry tips and insights
Related posts

Pre-trip inspection checklist for truckers [PDF + complete guide]
December 11, 2024
3 minute read


CSA scores: What they are and how to check and improve them
December 3, 2024
5 minute read

Top seven fleet fuel cards: Which is right for your fleet? A complete guide
November 25, 2024
6 minute read

Geotab's Public Works Fleet Health Dashboard: A comprehensive guide
November 25, 2024
3 minute read

35+ drowsy driving statistics and prevention facts for 2024
November 15, 2024
5 minute read


